Disable Caching During Development with Browser Tools
Lately I’ve been hosting a weekly event with Software Niagara, rather verbosely named “Do You Something for Great Good”. While giving a bit of an overview of HTML, it’s origins, and how it relates to CSS and JavaScript, I got a little derailed answering questions about things I was doing with Chrome’s DevTools. To that end, I think I’ll do a little series on things you can do with the Developer Tools in Chrome.
Caching: The Good, The Bad, and The Annoying
Caching is a necessary evil. It improves web performance in ways we probably don’t even realize on a day-to-day basis. It reduces web traffic in the simplest and most fundamental way possible; it avoids transferring anything at all.
For anyone not familiar with browser caching, here’s how it works in a nut shell. The browser makes a request to the server and gets some data. Maybe that data is HTML, a stylesheet, some javascript, or an image. The server may tag the response with a cache-control header, which is essentially some meta-data about how long that information is valid for. Then, when a web page uses the content at the same URL again, the browser checks for a local copy, looks at it’s expiry date, and if it has not expired just uses that local copy and does not ask the server for the data again.
With particularly large images, JavaScript files, and the growing number of very large style sheets, this can save the a lot of bandwidth for the user. This is especially important for mobile devices fetching data with expensive cellular data plans.
So what’s the problem with all this? During development the content that wouldn’t normally change from request to request like JavaScript and CSS files are changing rapidly. This makes the browser’s default caching settings get in the way. Typically you’ll see this appear as a moment where you think, “What the heck? I thought I changed that!” Then when you refresh the browser window a second time it behaves as expected. Changing caching settings from the server is complex though, and you want to keep caching turned on in production to gain it’s benefits. So how can we avoid reconfiguring our web servers just for development? By disabling caching in the browser. Here’s how…
Chrome’s Network Panel
While in chrome, open the developer tools. Find it under Menu > More Tools > Developer Tools. For shortcuts use Cmd + Opt + I on a Mac or F12 on Windows.
Once the developer tools are open, there is a set of tabs along the top. Select network.

Along the top of the network panel, there’s a checkbox that says “Disable Caching.” This disables browser-level caching, but only as long as the DevTools are open. So it won’t affect your normal browsing, but while working with the developer tools you won’t have to worry about stale content.
Safari’s Develop Menu
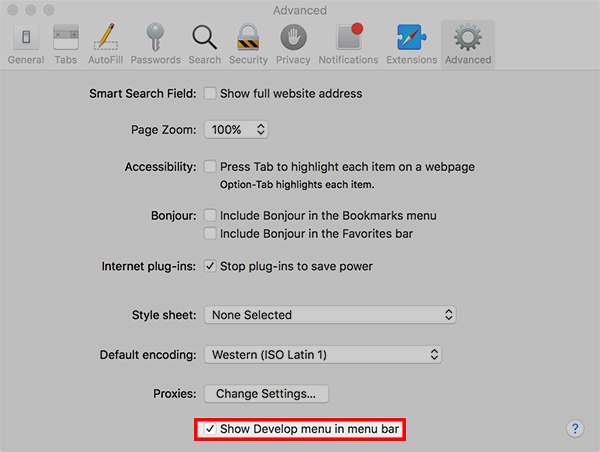
If you haven’t already enable the Develop menu on Safari, with Safari open use the menu to go to Safari > Preferences…. One the preferences window select the Advanced tab. At the bottom there is a checkbox to enable the Develop menu.
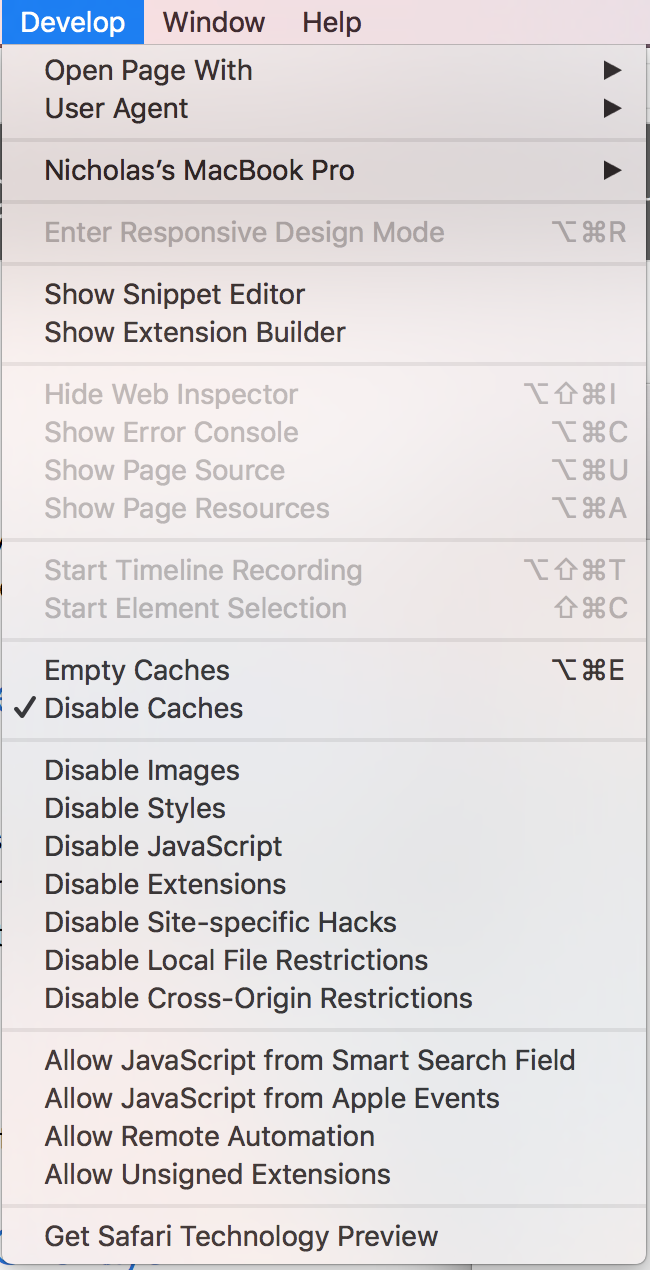
To disable caching in Safari toggle the menu item under Develop > Disable Caches.
Firefox’s Toolbox Options
Open developer tools with Cmd + Alt + I on Mac or Ctrl + Alt + Shift + I on Windows.
Select the little gear icon near the top right of the developer tools window to open the options for the developer tools.
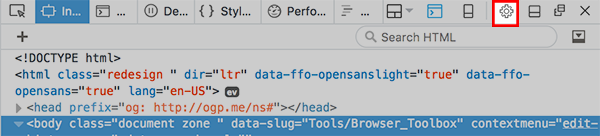
Under Advanced Settings select Disable Cache (while toolbox is open). Similar to Chrome, Firefox only disables caching while the developer tools are open, so this won’t change anything for your normal browsing experience.

Caching Issues Solved
Hopefully this solves your inappropriate browser caching issues during development. Setting up proper caching for production is another issue entirely… but the mechanisms for dealing with that depend on your Web Server, and also how you need it to behave for your particular application.